
A dust cover not only gives your frame a clean, professional look—it also helps protect your artwork from dust and debris.
In this guide, we’ll walk you through the process step by step using the following tools:
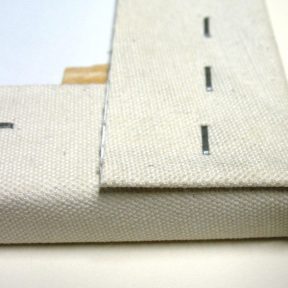
What You’ll Need:
- Materials Needed:
- ATG tape gun
- ATG adhesive tape (compatible with the gun)
- Logan Dust Cover Trimmer
- Brown craft paper (slightly larger than your frame)
- Picture frame (to apply the dust cover to)
- Hanging hardware (for the final step)
Estimated Time: 15-30 minutes
Skill Level: Beginner
Step 1: Apply ATG Tape to the Frame
- Position your frame face down on a clean, flat surface.
- Load your ATG gun with adhesive tape.
- Starting on one edge of the frame, apply the tape about ⅛ inch in from the outer edge. This ensures there’s no exposed adhesive after trimming.
- To apply the tape:
- Press the gun down with the trigger pulled.
- Glide it along the edge.
- Release the trigger and pull the gun away to finish the line.
- Repeat this for all four sides of the frame.
Tip: Keeping the tape ⅛ inch from the edge helps prevent any glue residue from showing once the dust cover is trimmed.
Step 2: Apply the Craft Paper
- Cut a piece of brown craft paper slightly larger than your frame.
- Carefully set the paper down over the adhesive, starting from the center and pressing outwards to eliminate air bubbles and create even tension across the back.
- Smooth the paper firmly against the tape for a secure bond.
Step 3: Trim the Excess Paper
- Grab your Logan Dust Cover Trimmer. It’s reversible for right- or left-handed use. Just load the blade on your preferred side.
- Before using it, remove any extra blades (it comes with five) and ensure only one blade is installed.
- Align the trimmer’s guide ledge with the edge of your frame.
- Hold the trimmer at a slight angle, press down gently, and drag the blade along the edge to trim off the excess paper.
- Repeat on all four sides until the dust cover is neatly trimmed.
Note: There’s a small gap between the safety guard and the blade, which is why we placed the tape slightly inward earlier—so nothing sticky is exposed after trimming.
Step 4: Add Your Hanging Hardware
With the dust cover perfectly in place, all that’s left to do is add your hanging hardware and display your beautifully finished frame!
For more framing tips, tricks, and tutorials, visit us at framingforyourself.com.